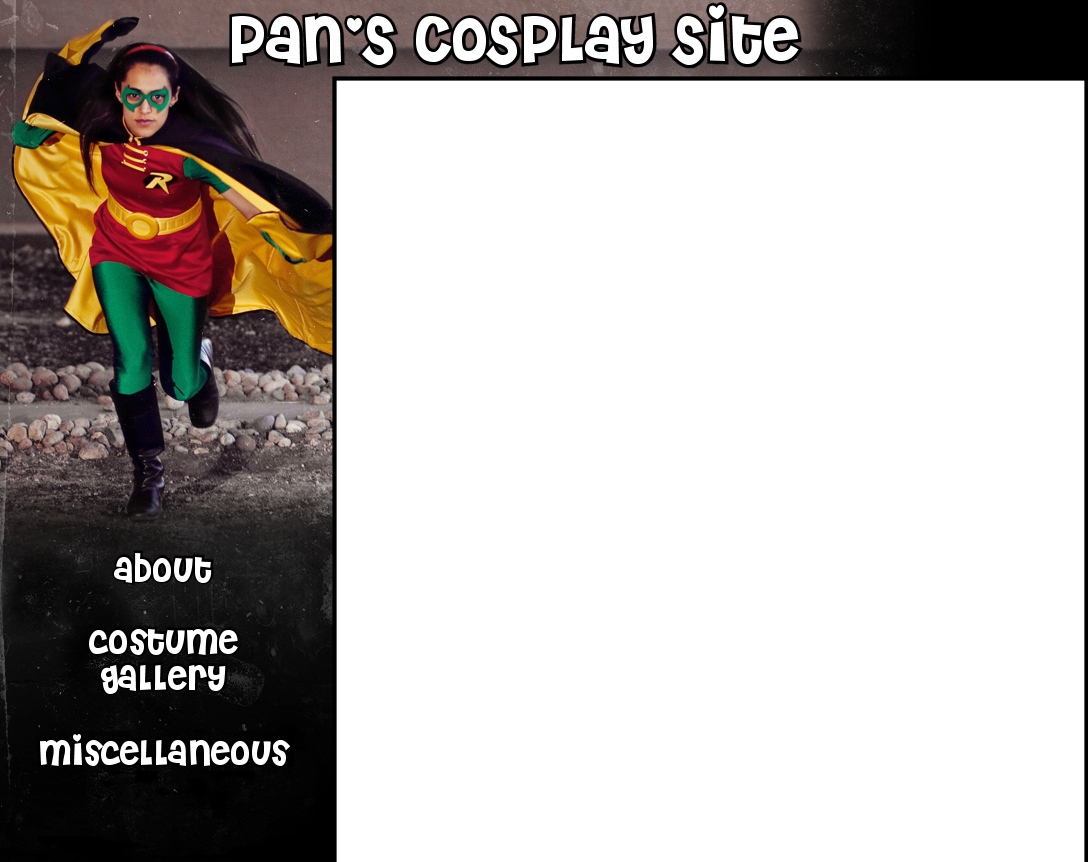
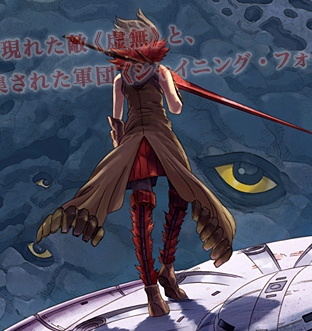
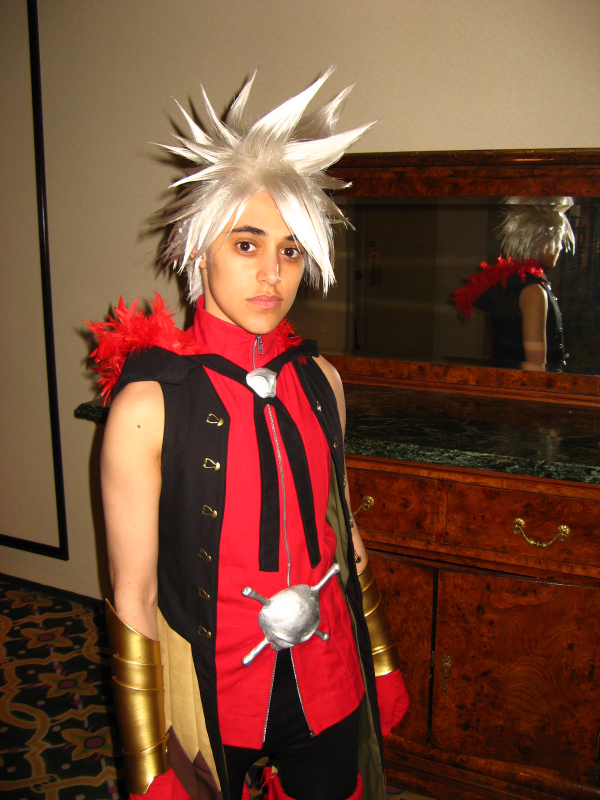
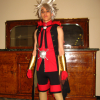
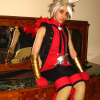
Jin from Shining Force Feather
Character Name: Jin
Series: Shining Force Feather
Specifics: --
Cost: $200
Time: 120+ hours
Started: April 2009
Completed: ?? (95% as of May 2009)
Debuted: Anime North 2009
References


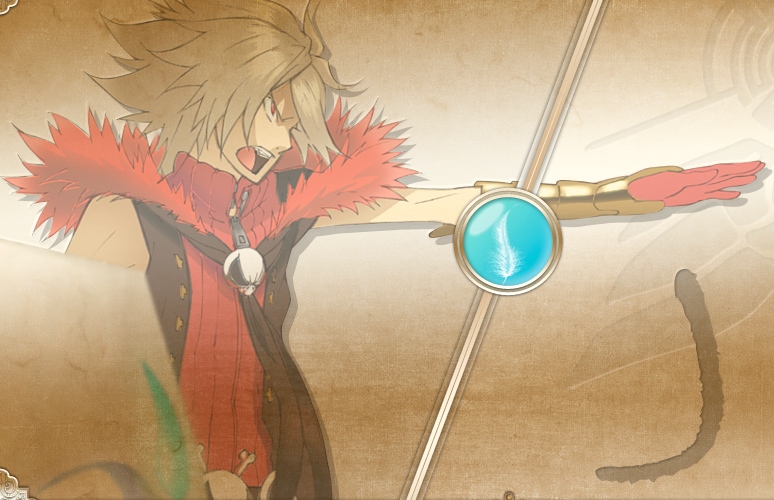
Gallery
 Costume Information
In early February 2009, I was linked to a character database that had Jin's character design in it. I was taken by it immediately and managed to trace the character back to the official Japanese website for Shining Force Feather. I didn't have cosplay plans for Anime North yet, and the more I thought about it, the more I wanted to make Jin's outfit. So I did.
This costume was, at the time, the most complicated costume I had made. Let me try to break it down...
Boots: The boots were challenging, especially since they look skin-tight and stretch above the knee. I bought a used pair of black shoes to use as a base, and then made a boot pattern that went around the base. This was tricky since I didn't want a seam at the front of the boots by my ankles. This was made even trickier by the fact that the zippers for the boots ran up the backs of the boots.
I made a few mock-ups and then made beige knee-high boots out of spandex with black zippers up the backs. I glued the spandex boot to the base shoe and then covered the edge with black cording.
The zippers on the backs of the boots are lined on each side by rows of red feathers. I took apart of a red feather boa and cut the feathers to the correct length. Then I carefully duct-taped and sewed them to the inside the folds of black biased tape. This was done in such a way that when I sewed up the bias tape, the feathers stuck out one side. I sewed these feathered strips of bias tape next to the zippers.
The top of the boots are fourteen or so pieces of red twill sewn together with a strip of black twill and backed by more black fabric. They are interfaced, and zig-zag stitched onto the spandex boot.
Inside the boots are snaps that allow them to attach to the pants. They stay up without the snaps, but the snaps prevent the boots from slipping or moving.
The zipper along the back of the boots doesn't quite like to stay in a straight line like I designed it to, but I think they look really cool regardless... even if they're a pain to zip up!
Pants: The pants are opaque black tights I bought and sewed snaps into. They were the easiest part of the costume.
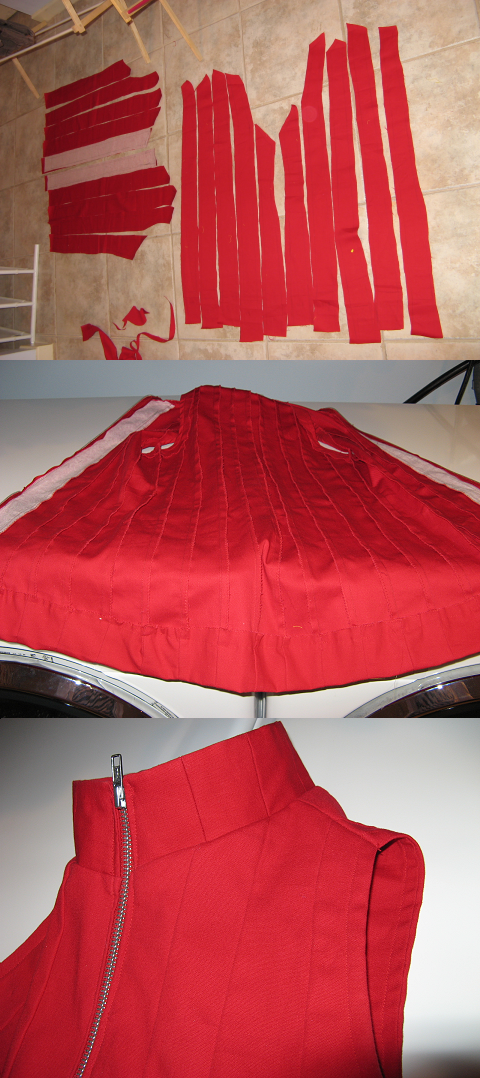
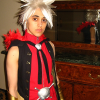
Red Undershirt: The red undershirt is ribbed in the reference image, so I patterned it to be made out of multiple strips of fabric. Not including the collar, there are twenty strips of red twill in the shirt that were carefully sewed together so that all the seams match up with each other and the collar, which is also made up of multiple pieces of fabric. I used a red zipper with silver teeth.
I used stretch twill for the shirt, which I regret since I have a hard time ironing it. Also, despite my painstaking patterning, the back of the shirt doesn't quite sit the way I wanted it, but that's the perfectionist in me being picky.
Belt: The base of the belt is a long piece of red twill that connects at the back with velcro.
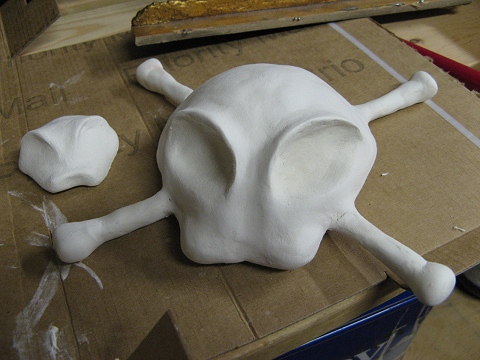
The base of the belt buckle was made out of cardboard, two chopsticks, and hot glue. I covered this base with model magic and paper clay, which I played with until I got it to look the way I wanted. I glued the belt buckle to the base belt using an industrial-strength glue. To keep the belt from shifting, I sewed snaps on the reverse side of the buckle that connect to the red undershirt.
I started making three skulls for my belt, but decided the costume looked better with one.
Gloves: I made my own glove pattern for this costume. Using a red spandex that matched the twill, I made two gloves.
Gold Armor: After patterning the armor out of paper, I cut the pieces out of old place mats I had lying around. I glued the gold vinyl on the reverse side of the place mats for a clean look. Then I hammered in large gold snaps to take the armor on and off. I really love the way the armor turned out!
Cloak: The first thing I did was make a mock-up of the cloak out of broadcloth to figure out how all the pieces would fit together and also to figure out what the bottom back of the cloak would look like.
The top of the cloak is made from black twill and lined with a pale green broadcloth. I found the gold closures at a local fabric store and hid their stitching under the lining.
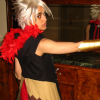
The bottom of the cloak is made from beige, brown and black twill and also lined in pale green broadcloth. Both the left and right-side of the bottom of the cloak are made from over twenty carefully patterned and individually sewn pieces. I refer to them as the cloak's "feathers". They alone took me two days to complete.
Hood: Jin's costume changes depending on the reference image, so I wasn't sure whether or not I wanted to make Jin's hood detachable. I ended up making it detachable. It's a simple black hood made from black twill. For the feathers, I used the same duct tape method I used for my boots, but I used longer feathers. Because of the way the hood is lined, the feathers look like they're coming out of edge of the hood.
The part of the hood along the back of my next has a black strip of fabric along it which extends into the front of the costume. I made a tiny paperclay skull for where these pieces of fabric join together below my neck. The strips of black fabric are held together by snaps.
The hood attached to the back of the cloak via a handful of black snaps.
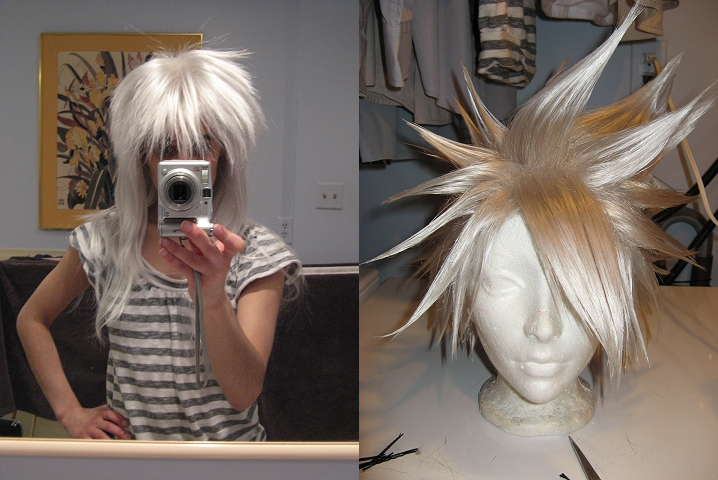
Wig: The wig was made out of a Punky XL wig I cut to pieces. I used Got 2B Glued hair spray and a hairdryer to style it.
In Progress


 « Back to the Costume Gallery