Mask Tutorial
I made this tutorial to explain the super simple way I make masks. My masks are lightweight, easy to wear and look great. Depending on how you want to wear the mask, there is either minimal or zero sewing required.
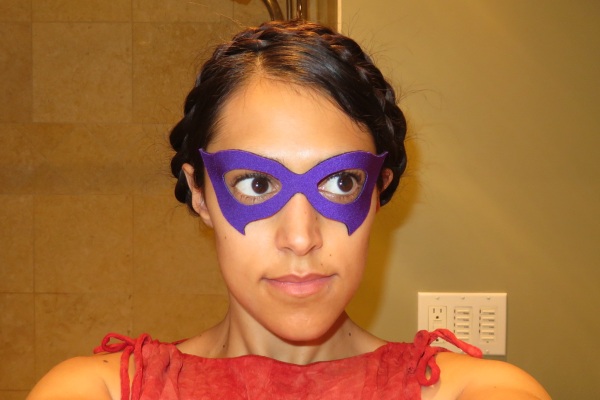
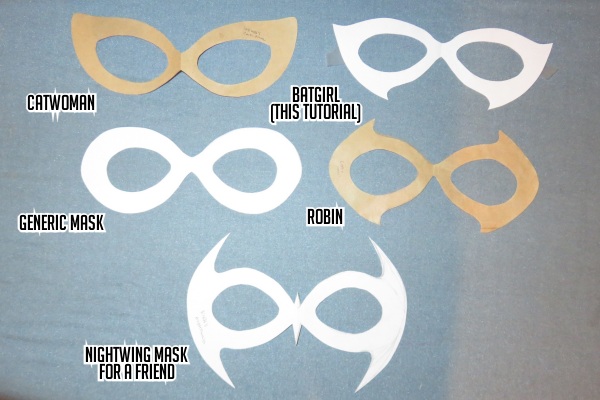
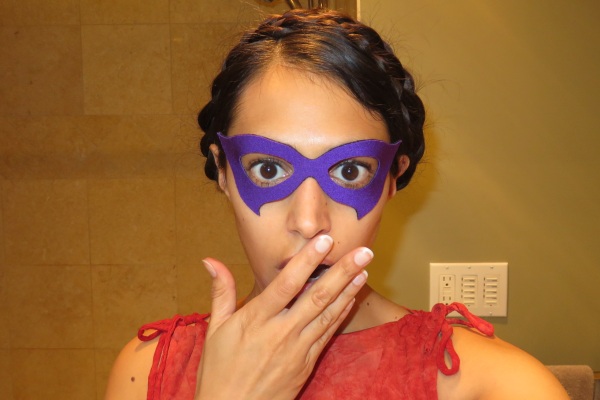
I created this method when I made Batgirl and Catwoman costumes for friends of mine. I also used this method to make my mask for my Robin costume. This is what the finished products look like:

For this tutorial, I am re-making the "Batgirl" mask because I like the design the most of all the ones I've made. I'm making it in purple because that way it'll be easier to tell the two sides of this mask apart.
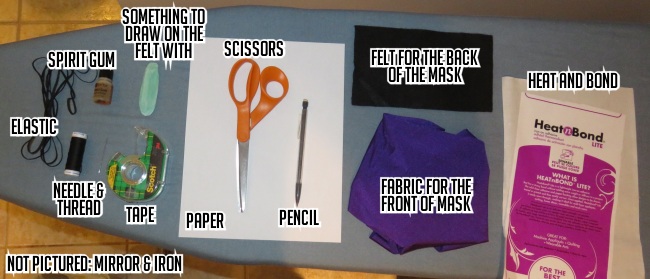
 What you'll need:
- paper
- pencil/pen/something to write with
- scissors
- mirror
- iron
- fabric for the front of the mask (preferably something that doesn't fray like spandex)
- felt (I prefer to use black felt)
- heat and bond (the brand name is "Heat n Bond")
- chalk or something to draw on the felt with
- tape
- elastic or spirit gum
- (if attaching by elastic) sewing needle and thread
 Step 1: Making the Pattern
Before you make the mask, you'll need to make a pattern. A pattern allows you to figure out how you want your mask to look, what size it will be, etc. It's like a rough draft that will allow your final version of the mask to look just the way you want it to.
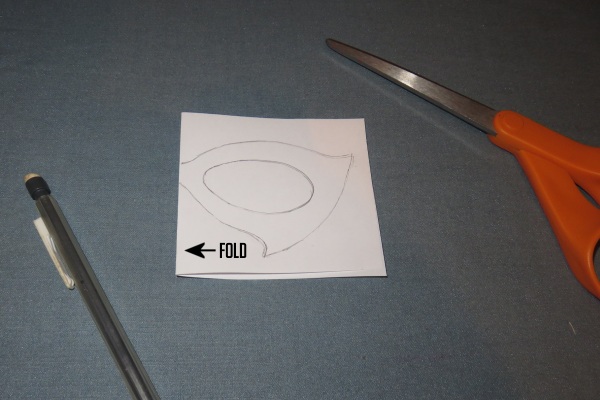
To make your pattern, first cut out a rectangle out of paper. This rectangle should be a little larger than any mask you plan to create.

Fold this rectangle in half.
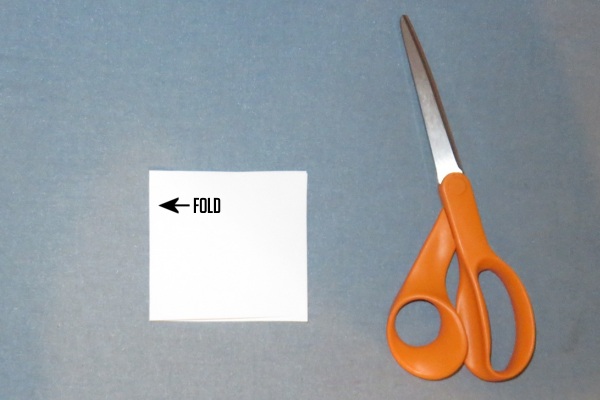
Using your pencil, sketch mask designs on the paper making the fold the center part of the mask that fits between your eyes.
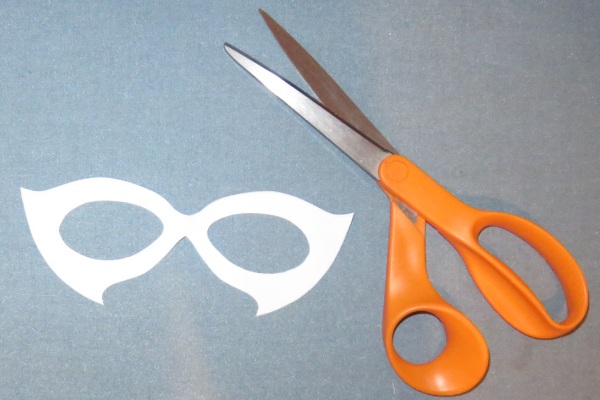
Keeping your pattern folded in half, cut out your pattern. Keeping it folded while you're cutting will ensure that the two halves mirror each other.
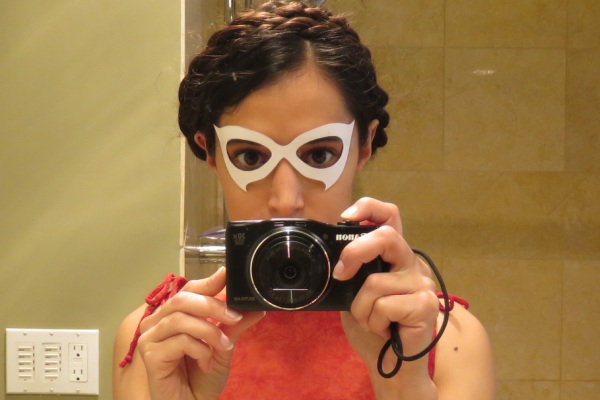
Hold your pattern up to your face in front of the mirror. I put small pieces of tape at the edges of my mask pattern to gently hold the pattern to my face so I can see what it looks like in the mirror without having to hold it.
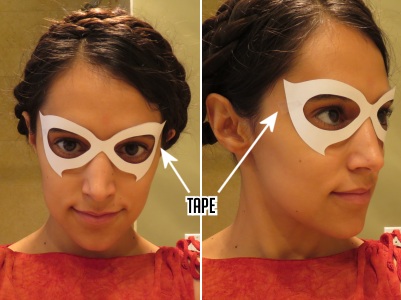
At this stage, your pattern may not look anything like you want it to, may be too big or too small in some areas or may just be generally aesthetically unpleasing. Alter the pattern until it looks like you want it to. This could mean adding paper, cutting some of the pattern off, or even starting the patterning from scratch again. Coming up with a pattern that works is the most time-consuming and frankly frustrating part of mask making for me.
I suggest taking your time with this and fiddling with the pattern until you find a design that you really like. After all, if you don't like the look of your pattern, it's unlikely you're going to like the look of the finished product.
For reference, this is what my current collection of completed mask patterns looks like:
 Step Two: Constructing the Mask
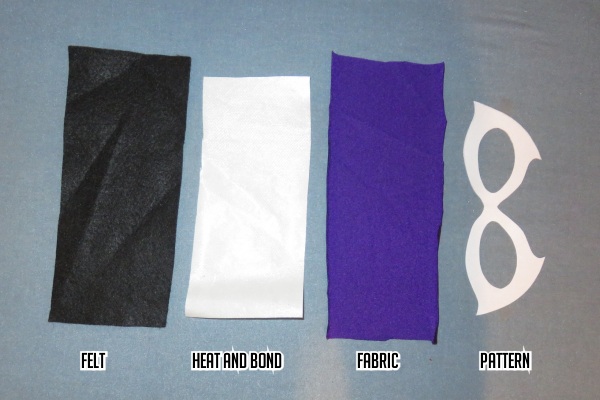
First, you're going to need your fabric, heat and bond, and felt.
The fabric will become the front of your mask. I suggest using a non-fraying fabric like spandex because these fabrics will produce the cleanest looks. However, you can use any type of fabric you want. For my
Robin mask, I used the same green spandex that I used to make the tights, t-shirt and gloves of my costume. Because I used the same fabric, my mask matched the rest of my costume. This is one of the advantages of this method of mask making -- you can match your mask to your outfit.
The felt will used as the back of your mask. I like to use felt because it doesn't fray, because it has a weight to it and because it's soft against my face. At the time of writing, I've used black felt for all of the masks I've made using this method.
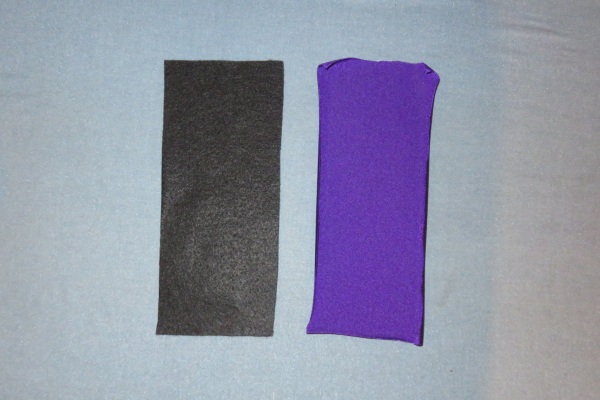
To begin, cut out a rectangle of the heat and bond that is larger than your mask pattern. Cut out slightly larger rectangles of your fabric and felt.
Iron your fabric and your felt rectangles flat. If you're using spandex, be careful ironing it so it doesn't melt or burn. You want your fabrics to be wrinkle-free so your mask is also wrinkle-free.
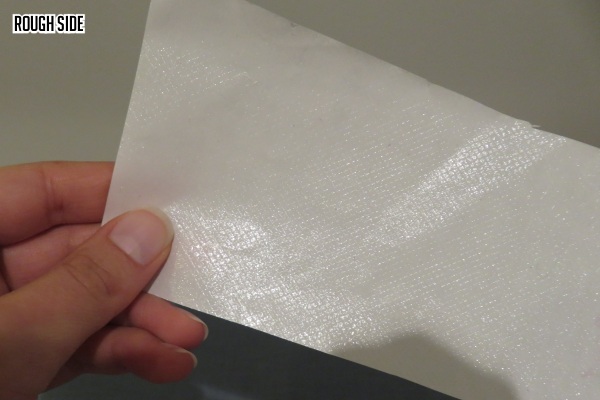
Heat and bond is a material that can be used to glue two pieces of fabric to each other. It's used for things like appliqu�s. It usually comes with a paper backing on one side and a rough texture on the other side.
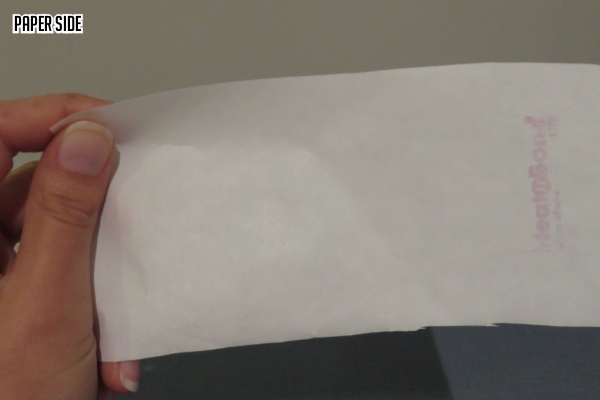
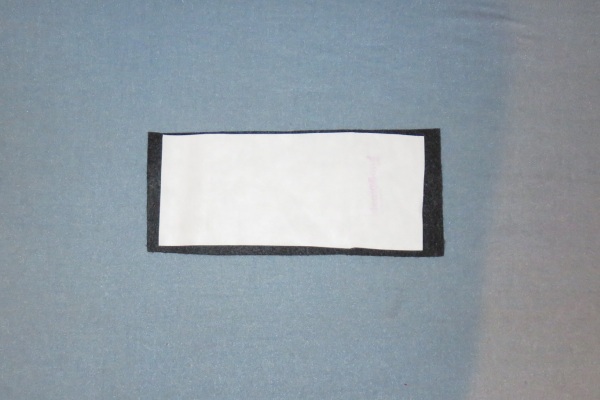
Put your piece of felt on your ironing board. Without removing the paper backing, place your heat and bond down on to your felt with the rough texture side facing down against the felt. The paper side should be facing up -- it is what you want to touch the surface of your iron. Make sure that every part of your piece of heat and bond is touching your felt. If the heat and bond is larger than the felt, trim it. (Otherwise, you'll end up fusing the heat and bond to your ironing board.)
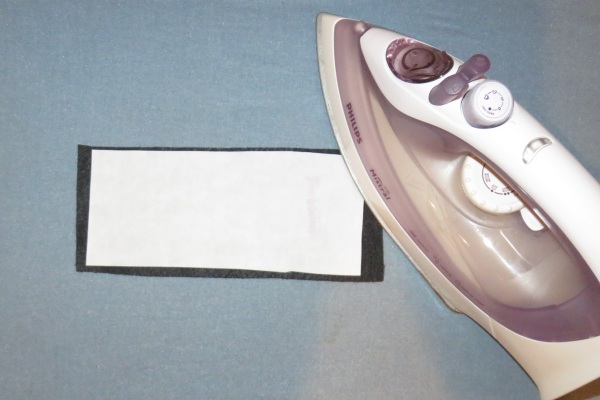
Iron the heat and bond to the felt to fuse the two together. Follow the directions on the heat and bond. Alternatively, in order to figure out what setting you want your iron on and how long you want to apply heat, test this fusion using scrap pieces of felt and heat and bond first.
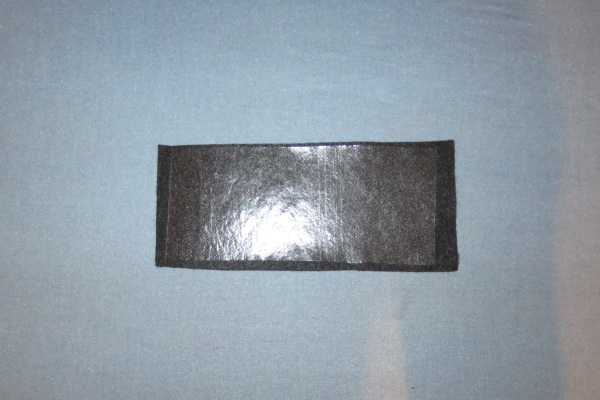
Once the heat and bond and felt are fused together (and have cooled down!), carefully remove the paper backing of the heat and bond. This should leave a shiny, smooth finish on the felt where the heat and bond has fused to it.
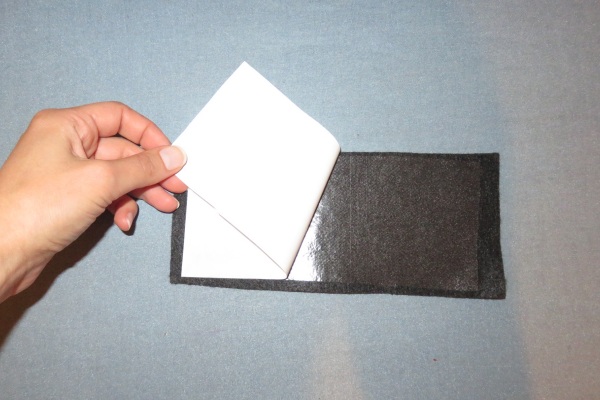
Take your good piece of fabric and place it on your ironing board. Note that many fabrics look different on each side. Make sure that the "good" side of the fabric -- the side you want showing on your mask -- is facing down towards the ironing board.
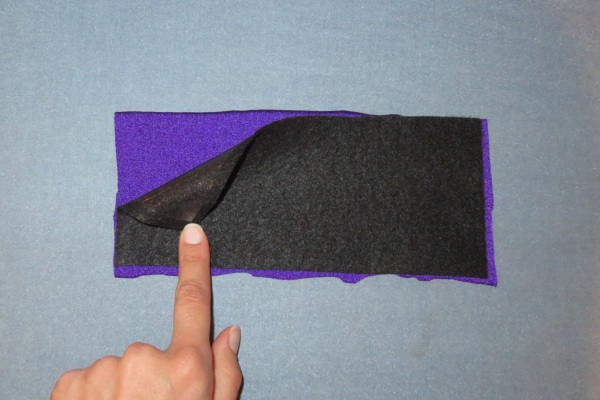
Then take the piece of felt you fused to heat and bond. Place it heat and bond-side down onto your good fabric. (The heat and bond should be touching the "bad" side of the fabric.)
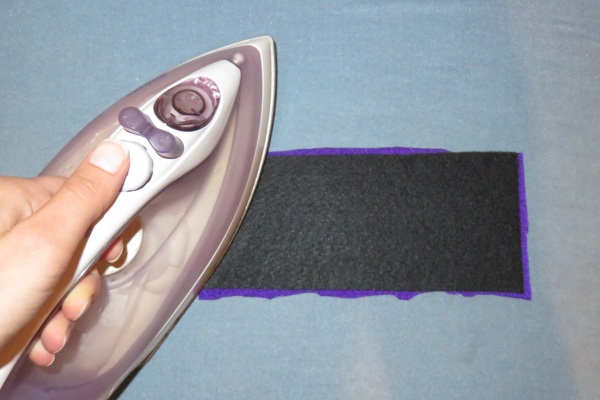
Iron this until the heat and bond has fused to your good fabric. Be sure to use enough heat to fuse the heat and bond but not so much heat that you melt or burn your good fabric. Again, a test piece might be a good idea to find the ideal settings of your iron and how long to apply heat.
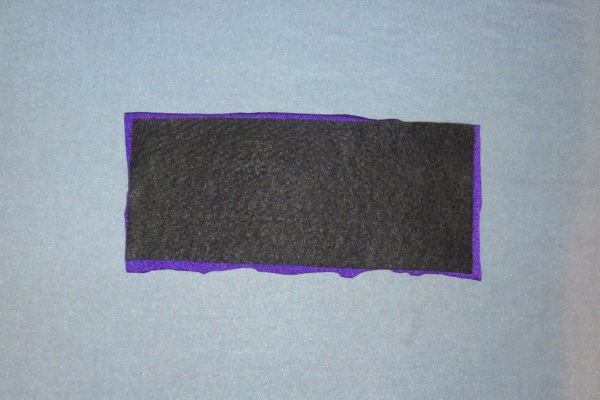
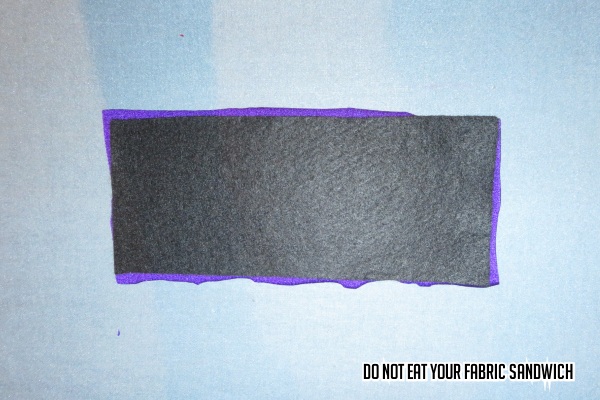
Now your two fabrics should be glued together. Basically, you have made a "fabric sandwich" with heat and bond "filling".
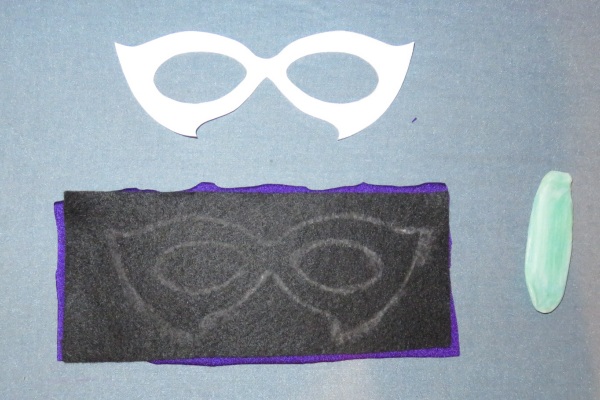
Take your pattern and place in on the felt-side of your completed felt/fabric rectangle. Use chalk/something that writes on fabric to carefully trace out your pattern. (I use soap in this tutorial because that's my personal preference, but for many reasons, chalk is preferable.) Make sure that the felt and fabric are, in fact, fused in the area where you're tracing your pattern.
Finally, take a pair of sharp scissors and carefully cut out your mask.
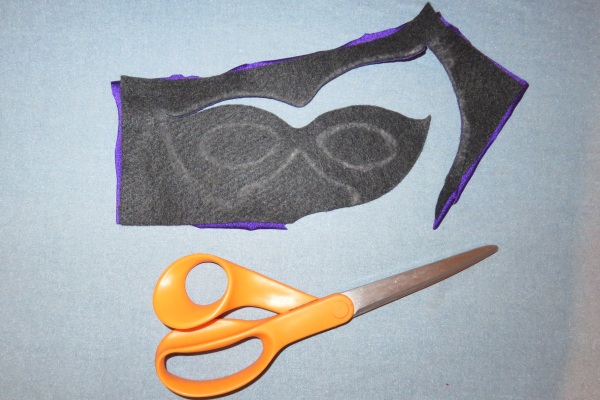
After cutting it out, you should have a completed mask! Huzzah!
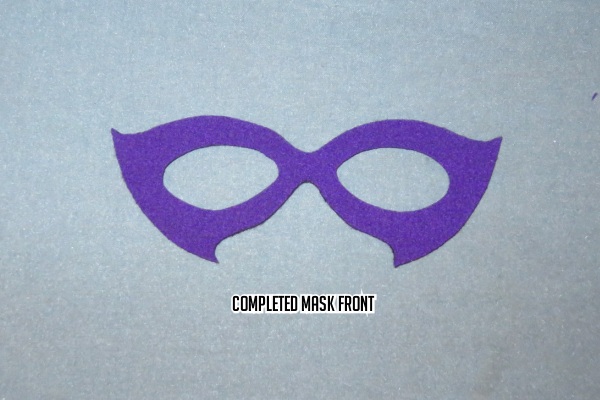
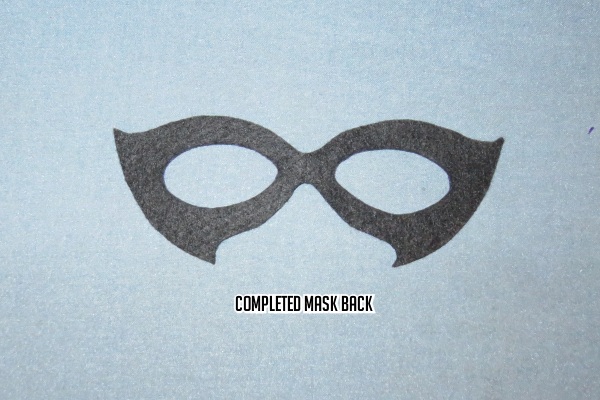
All that's left is to figure out how you want to wear your mask.
Step Three: Wearing the Mask
There are two main ways to wear these masks and they involve:
- attaching an elastic to the mask so you can wear the elastic around the back of your head to keep the mask in place, or
- gluing the mask to your face with spirit gum.
If you want to use elastic, take some thin elastic and measure how long it needs to be to go around your head to hold the mask in place. If you're wearing a wig, I suggest putting the wig on before measuring so it doesn't end up too tight. I also suggest using elastic that is black, the same colour of the mask, or the same colour as your hair/whatever wig you'll be wearing.
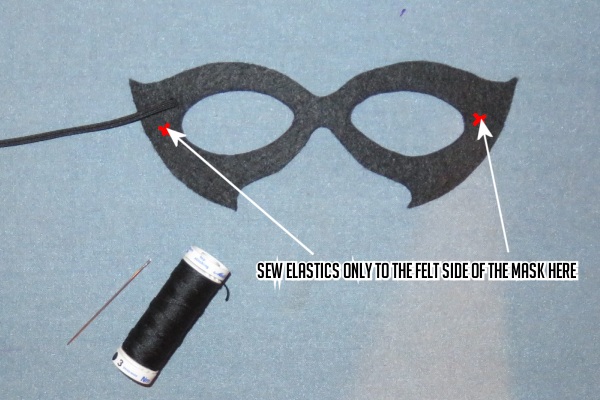
Carefully hand-sew the elastic to the sides of the mask. Be careful to only hand-sew the elastic into the felt so it won't be seen on the good side of the mask. Also, I suggest
not sewing the elastics all the way to the outside edges of the mask. This allows the edges to "pop" since they won't be pulled back by the elastic.
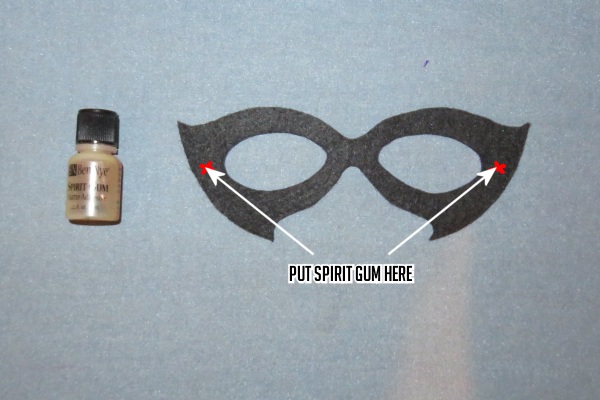
If you want to use spirit gum, you can find all sorts of tutorials about spirit gum elsewhere. You should only need a tiny bit of spirit gum at the edges of the mask in the same area you would have sewed the elastic. You may also want to put spirit gum on the part of the mask that touches the bridge of your nose. When using spirit gum remover, be careful not to get too much on the mask.
I like spirit gum because there are no elastics visible so it's not immediately obvious how the mask is staying on.
Finally, put the completed mask on.
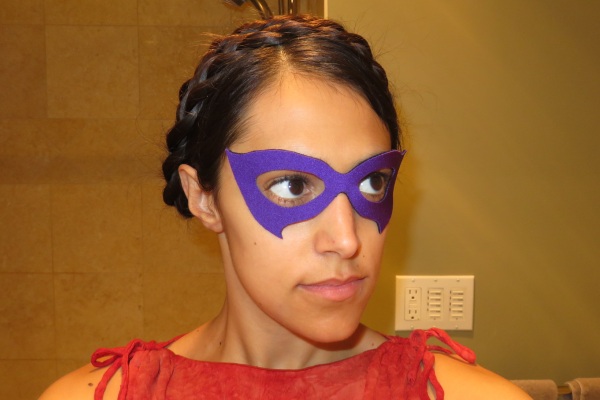
Congrats! You're done! You've made a mask!
 Final Notes
This tutorial and the images within it were created by me. The cosplay images at the beginning were taken by
Elemental and
Solartempest.
Please do not repost this tutorial elsewhere. If you want to share it, please link to it. Thank you!
I hope this tutorial helps you create a mask you love, and I wish you the best of luck with its creation!
This tutorial was uploaded on July 25, 2015.
tl;dr: Make a mask pattern. Take your fabric and felt, and fuse them together with heat and bond. Trace your mask pattern onto this. Cut out your mask. Attach it to your face. Yay, you have a mask!
« Back to Miscellaneous Stuff